Creating a case study map in Google My Maps
Creating a case study map in Google My Maps
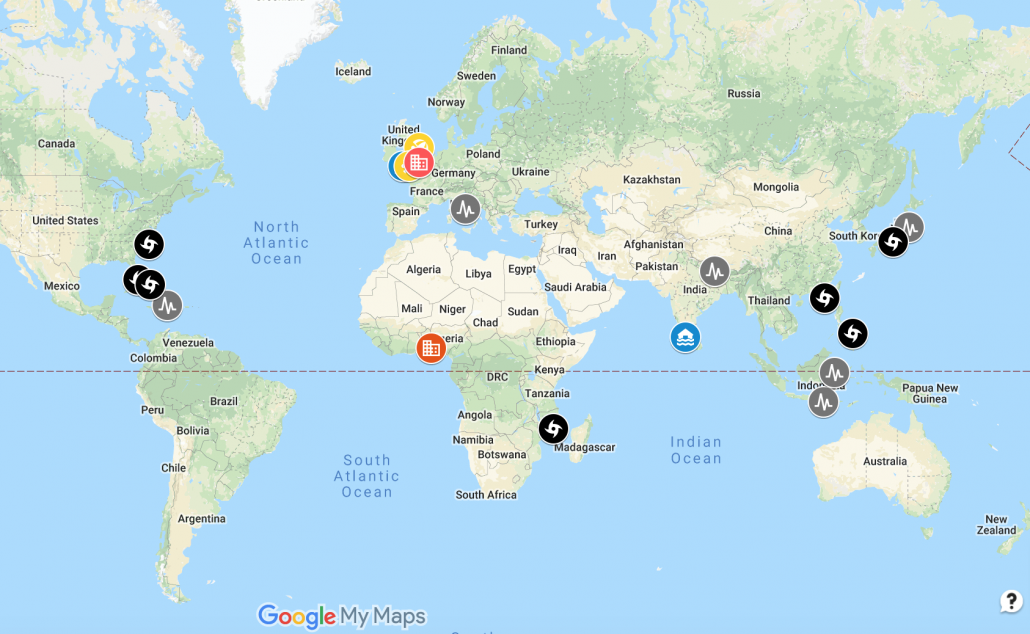
Google My Maps is a great way of collating and displaying case studies in one place. Below is an example that includes some of the case studies on Internet Geography.
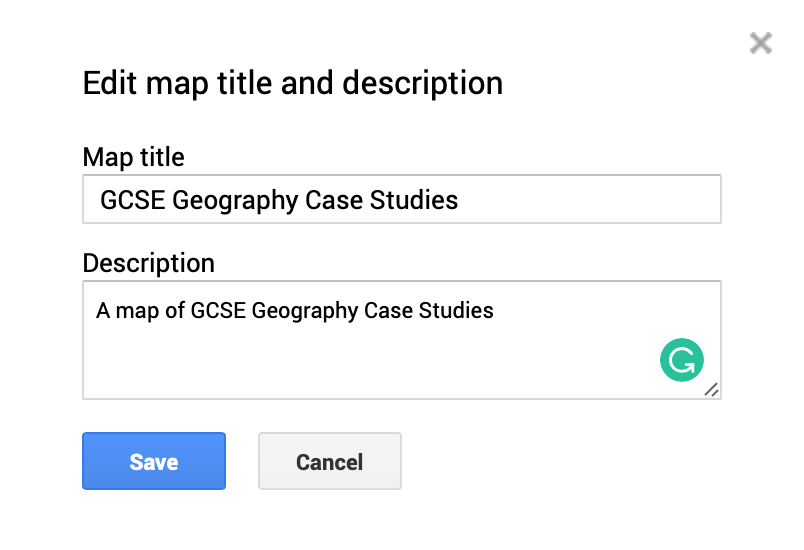
To get started on your map log into your Google account then head over to Google My Maps. Click New Map and give it a suitable title and description.
In this map, we are going to create a series of layers. This is so that we can group case studies by themes. By doing this we can filter case studies by type and display them on a base map.
Rename the Untitled layer that has been automatically created. In this case, we will name it Natural Disasters. To do this click the icon showing 3 dots and select Rename This Layer.
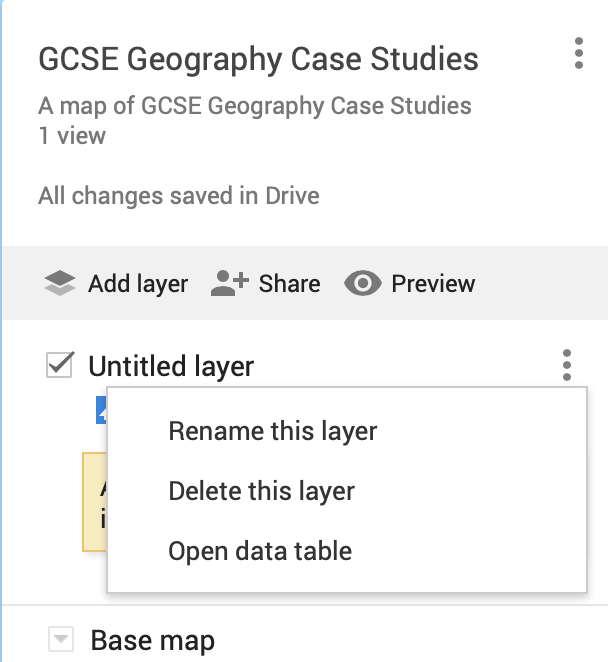
Give your layer an appropriate name.
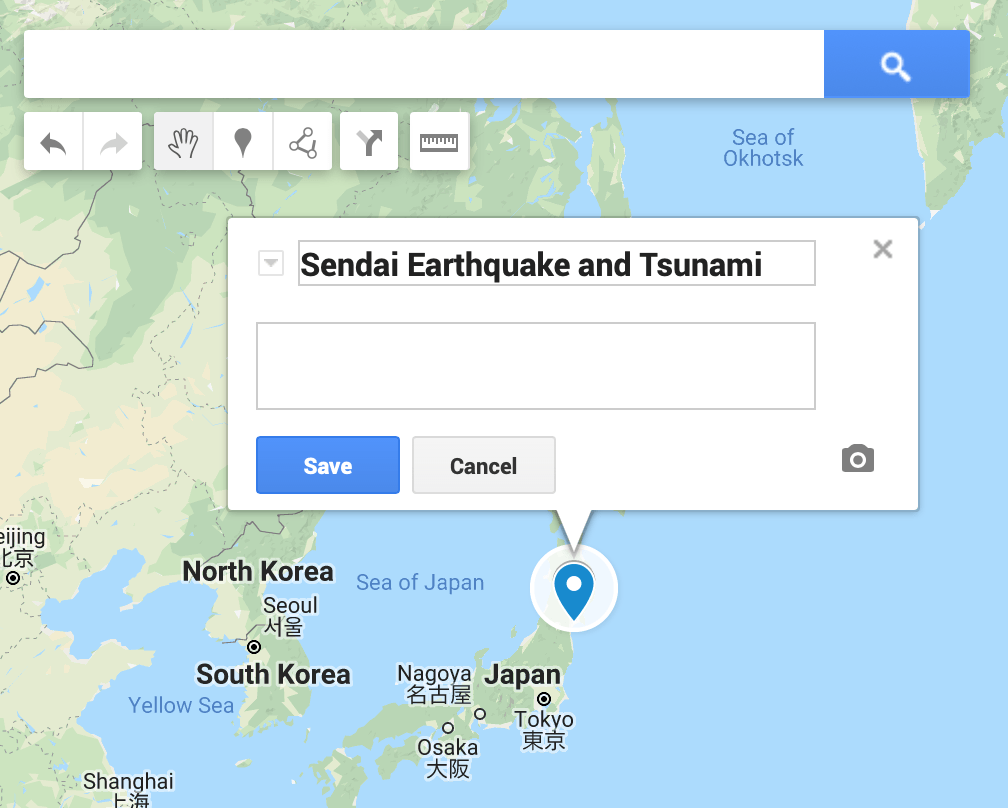
You are next going to add a marker to show the location of a natural disaster. In this case, we will add the Sendai earthquake and tsunami in Japan. To get started, locate the place where the natural hazard occurred. Then click the marker icon (it looks like an upside down droplet) then click the location where you want to place it. You can then rename the marker as shown below.
Next, you can add images and videos (such as those on YouTube) to the marker. You can also include hyperlinks to web pages that could be used for revision. Below is an example of a marker with a Youtube video embedded and a hyperlink to a case study on Internet Geography.

You now need to repeat this for all the case studies you want to include in this layer.
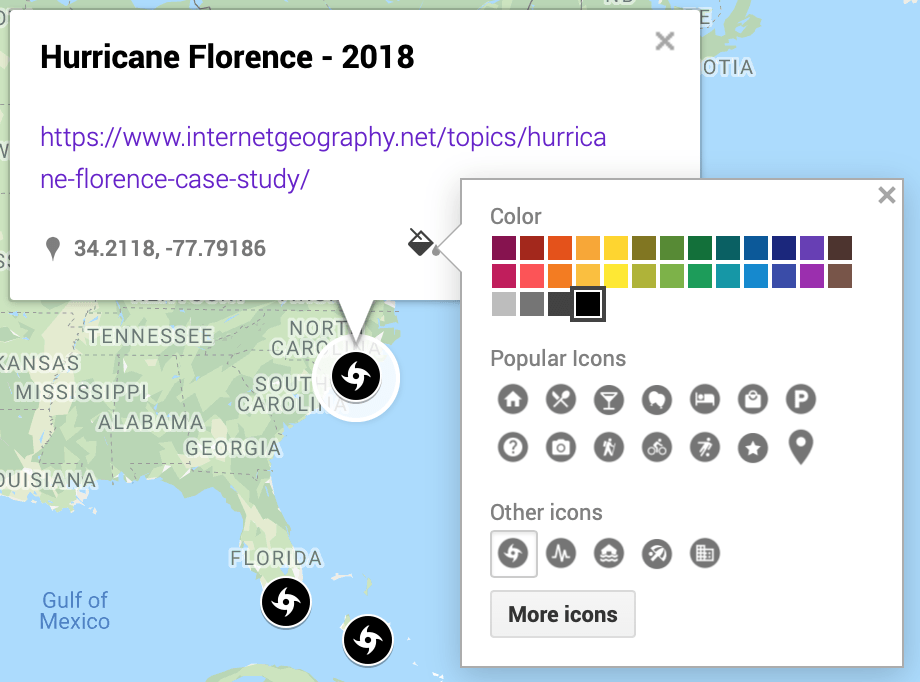
You can then create another layer and repeat the process. You can edit the colour and style of markers by theme. This will help differentiate the different markers. To do this click the bucket and select a colour of your choice, then click more icons to choose an appropriate icon.
You can filter your map by turning layers off to show the location of a particular category of case study. To do this de-select the tick next to the layer name.
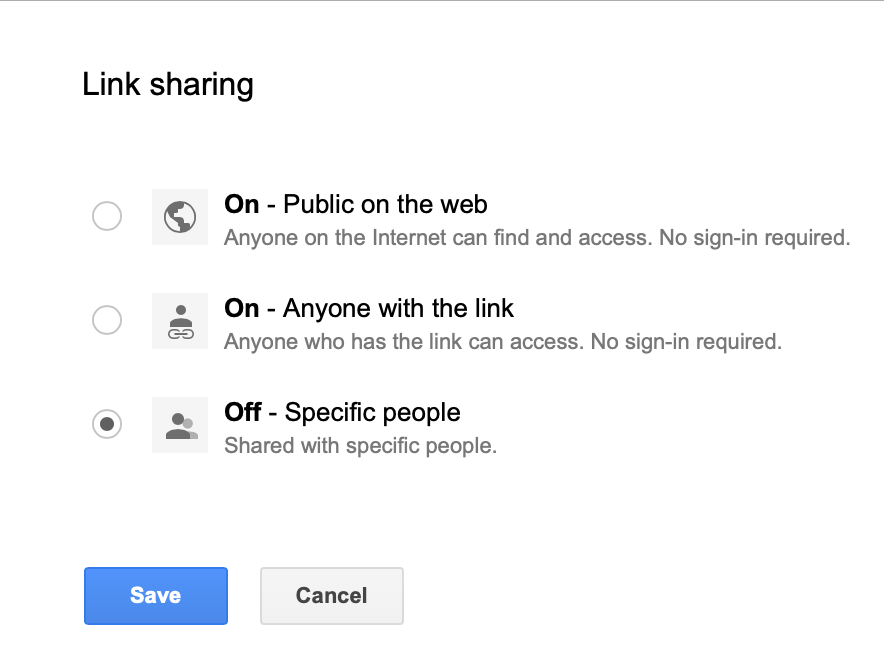
Once your map is finished you can share it by clicking the Share icon. Then click Change. Select an appropriate option. Once you’ve done this copy the link and share.


Leave a Reply
Want to join the discussion?Feel free to contribute!