Using Google My Maps in Geography – part 2
Following on from my recent post on using Google My Maps in the classroom – part 1 , in this post I’ll cover the use of polygons on a Google My Map.
Adding Polygons
You can draw shapes directly onto a layer in Google My Maps. You can then edit the way they are presented and attach data to them. In this case I am going to create a polygon to indicate continents. In the example below I have created a layer and named it Continent. I have then placed pins in each continent. This gives a basic indication of where the contents are but to make it clear I could draw a polygon around each continent to make it clear which countries are in each continent.

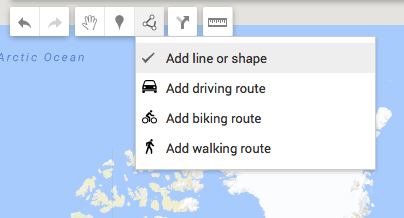
To get started I have clicked the Draw a line icon. My cursor then changes to a crosshair.
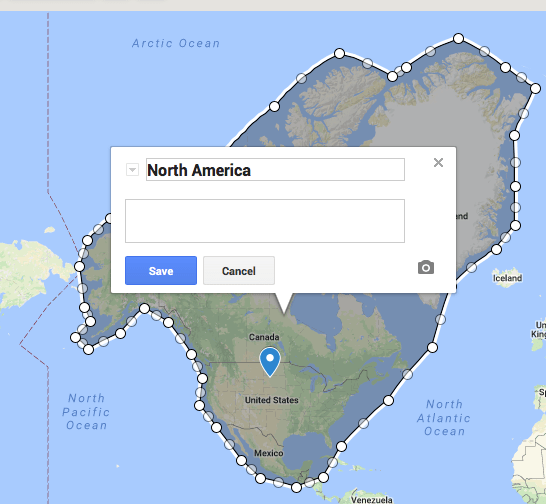
By clicking around the continent I can create a polygon that covers the landmass. The final click needs to be on the first mark I made to complete the polygon. I then give it a title as below.
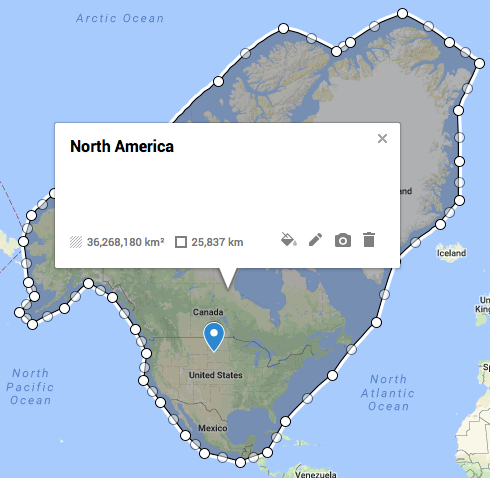
You can then edit the polygon. To do this click the bucket icon.
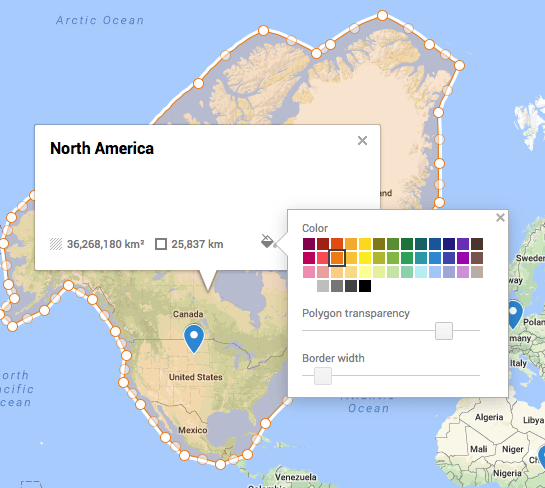
From this you can change the outline colour and the transparency of the polygon. This can then be repeated for each polygon.
Below is a copy of the map I’ve created so far.
Although this is a simplistic way of using polygons there are other ways these can be used. For example:
- creating landuse maps
- maps to show distribution e.g. vegetation type on a sand dune
- landuse zones in an urban area
Need to share your map? Take a look at our guide here.
Take look at the other Google My Maps tutorials for more ideas on how you can use the app for presenting data.
If you are looking to further the develop the use of Google Apps in your classroom or school our friends over at Cre8tiveIt.solutions can provide support and training with the use of Google Suite, Google Drive, Google Edu and Google Classroom.
Anthony Bennett
Leave a Reply
Want to join the discussion?Feel free to contribute!
Leave a Reply


Thanks, an esay to follow tutorial!