Google Earth – Create interactive stories and maps
Google Earth has recently launched creation tools allowing you to create stories and maps. Having had a play with the new feature I have to say it’s fantastic. Not only can stories and maps be shared with others to view, but you can also collaborate on the same map in real-time. You must use the Google Chrome browser to access Google Earth online.
Take a look at an example I’ve started working on for the Holderness Coast (you need to be using the Chrome Browser to access this!). This is a work in progress but helps give a feel of what is possible. I’ve also created an example showing landforms of glacial erosion and how these appear on OS maps.
Having followed the tutorial below, Louise Hayne has kindly shared two amazing Google Earth case studies covering the 2011 Sendai, Japan earthquake and the Haiti earthquake. Give Louise a follow on Twitter via @louhayne1.
The software is very intuitive and many features can be worked out through having a play. However, I’ve put together a step by step guide covering some of the main features for those who feel less confident about using GIS software below.
Introduction to creation tools in Google Earth
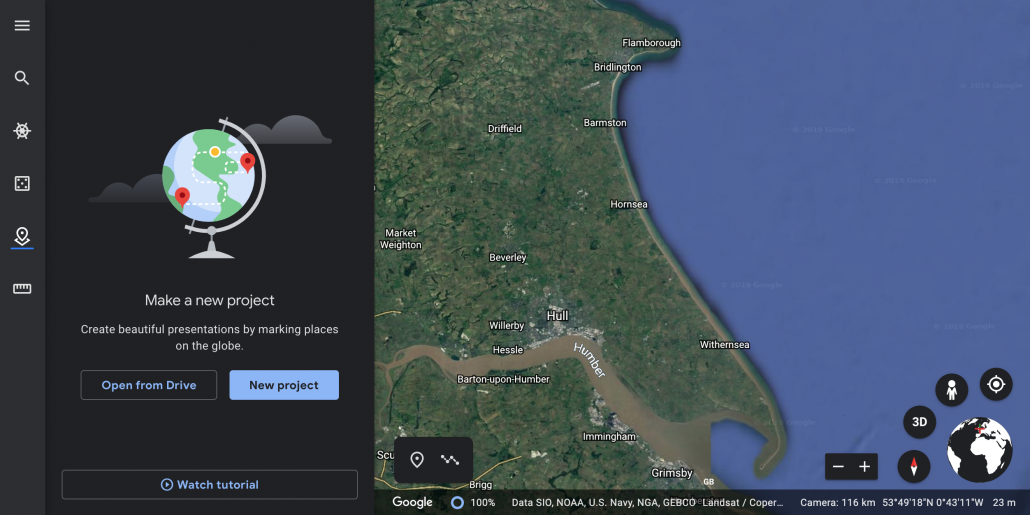
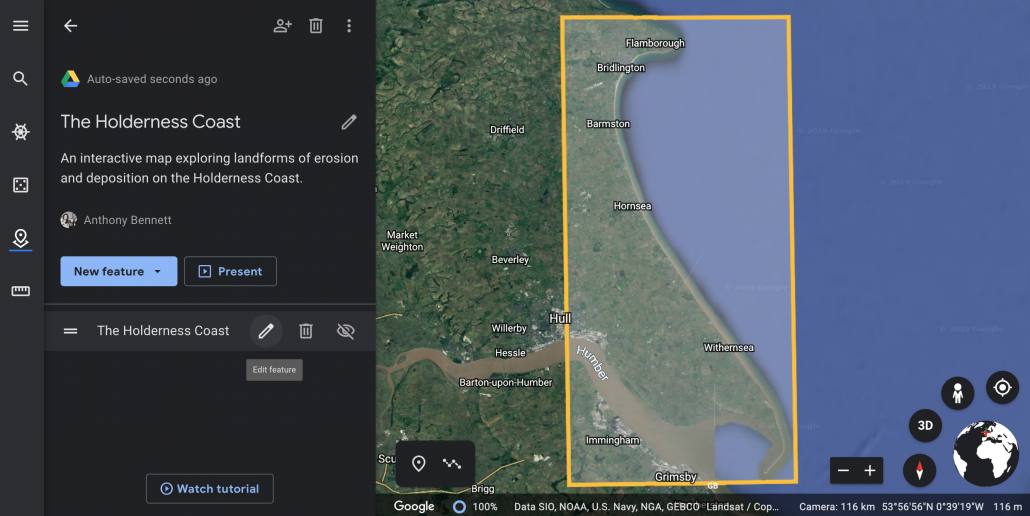
- Open Google Earth online using Google Chrome. Click the New Project icon

Google Earth – Step 1
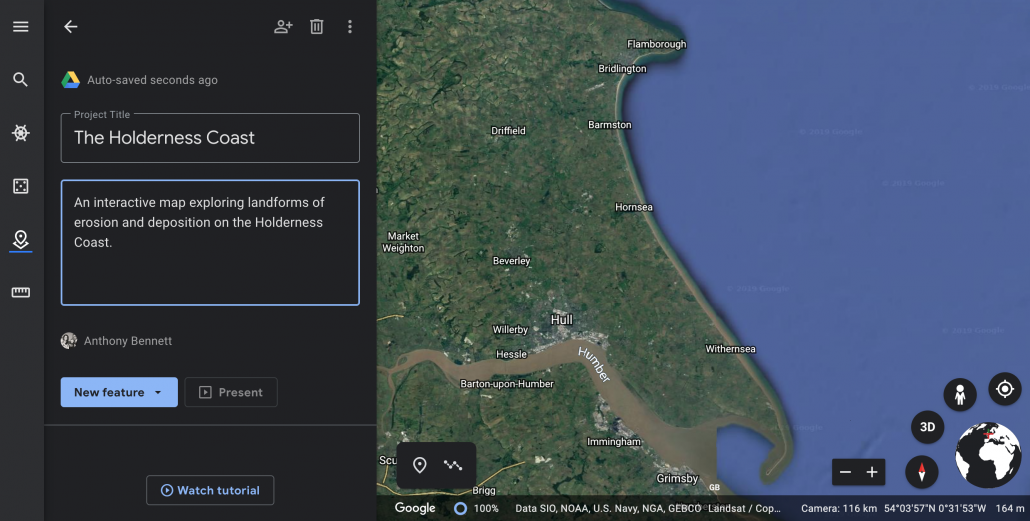
- Give your project a suitable title and description

Google Earth – Step 2
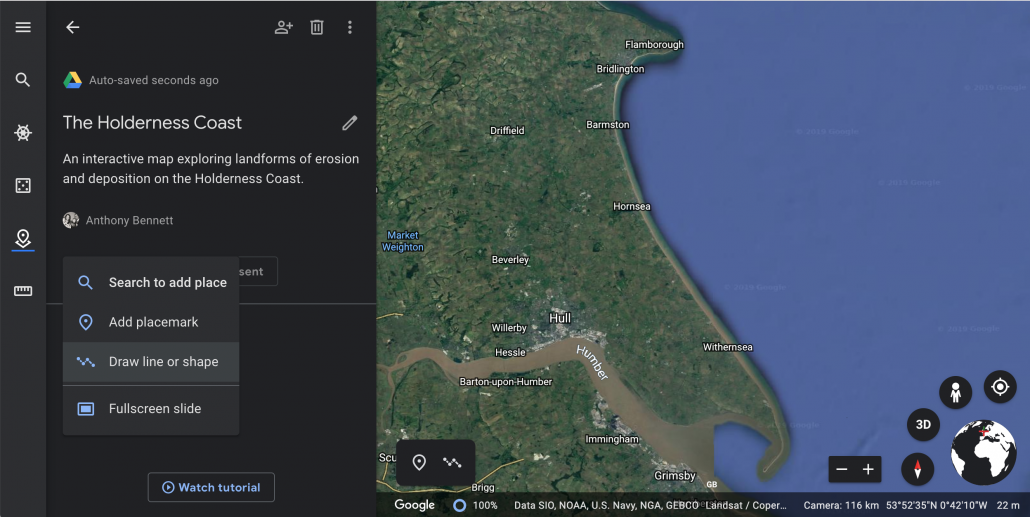
- Click new feature > draw line or shape.

Google Earth – Step 3
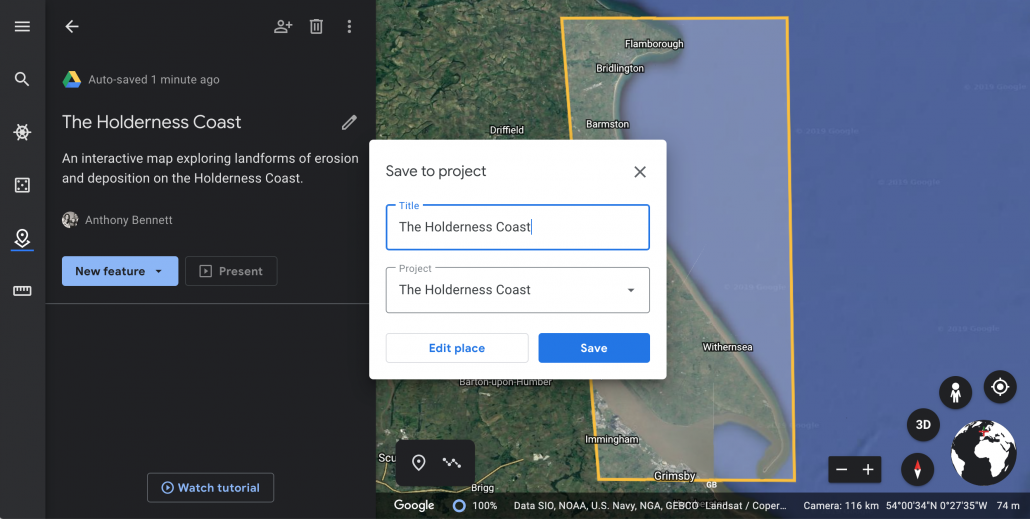
- Draw a shape around the case study area. Give it a title.

Google Earth – Step 4
- Click edit place to tidy up the shape.

Google Earth – Step 5
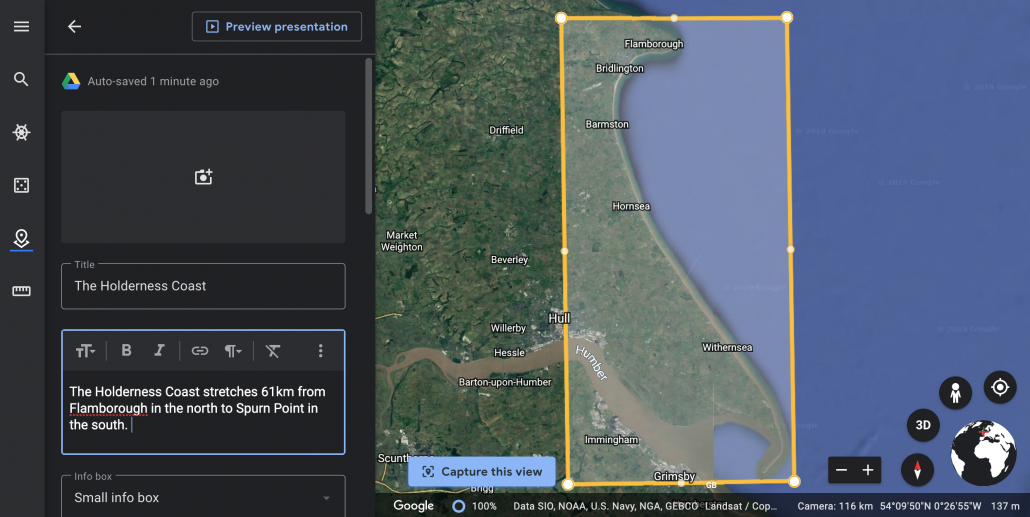
- Add a description and click the Capture this view icon so whenever someone clicks the location it will zoom to this view.
Google Earth – Step 6
You can also add an image by clicking the camera icon. When you’ve finished click the back button in the top left corner.
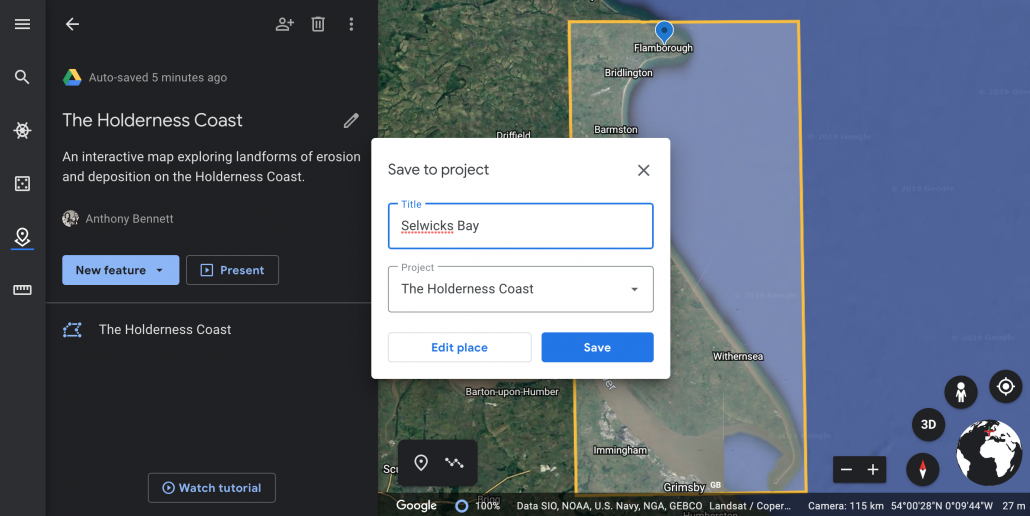
- Next, start adding place makers for different locations by clicking the New feature button and selecting either add placemark to add the location manually or search to add place.
Google Earth – Step 7
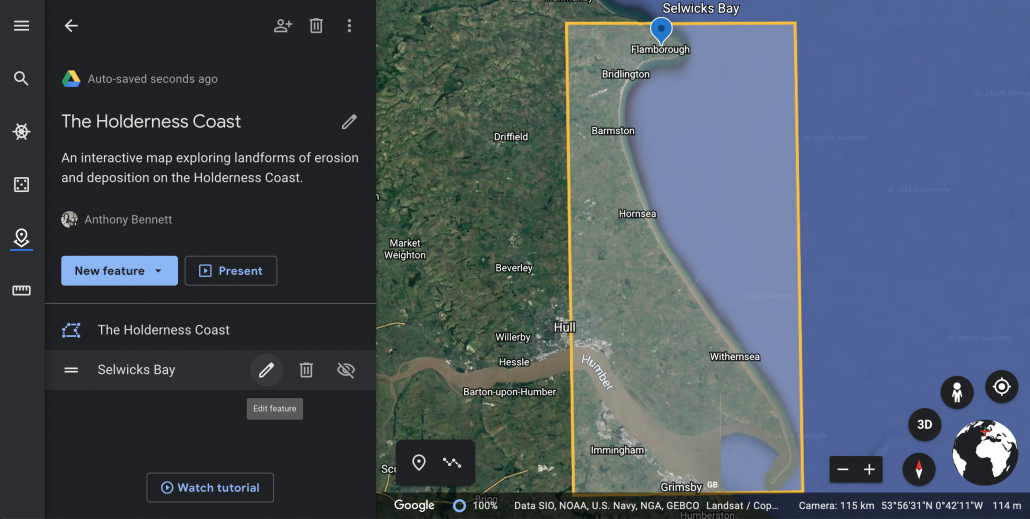
- Once you’ve added your placemark you can edit is by hovering over the location in the menu on the left.
Google Earth – Step 8
- Click the pen icon to edit.
Google Earth – Step 9
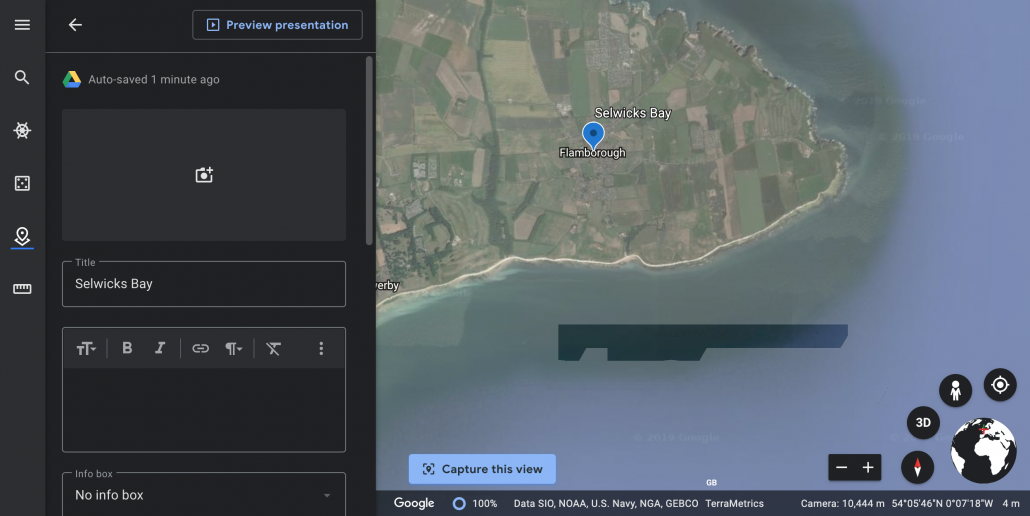
- Zoom into the location to move the place marker into a more accurate position. Drag and drop the place marker to move it.
Google Earth – Step 10
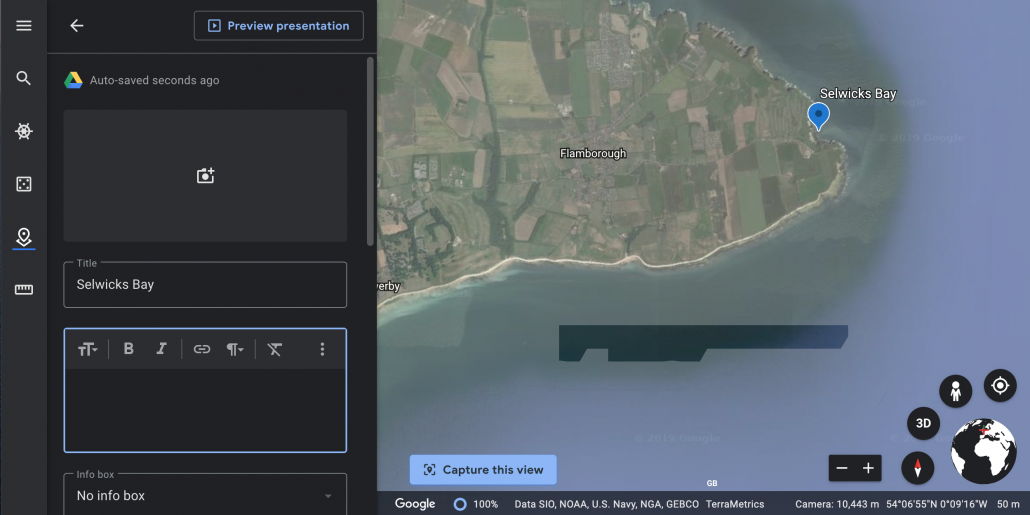
- You can zoom closer to the location and change the default view.
Google Earth – Step 11
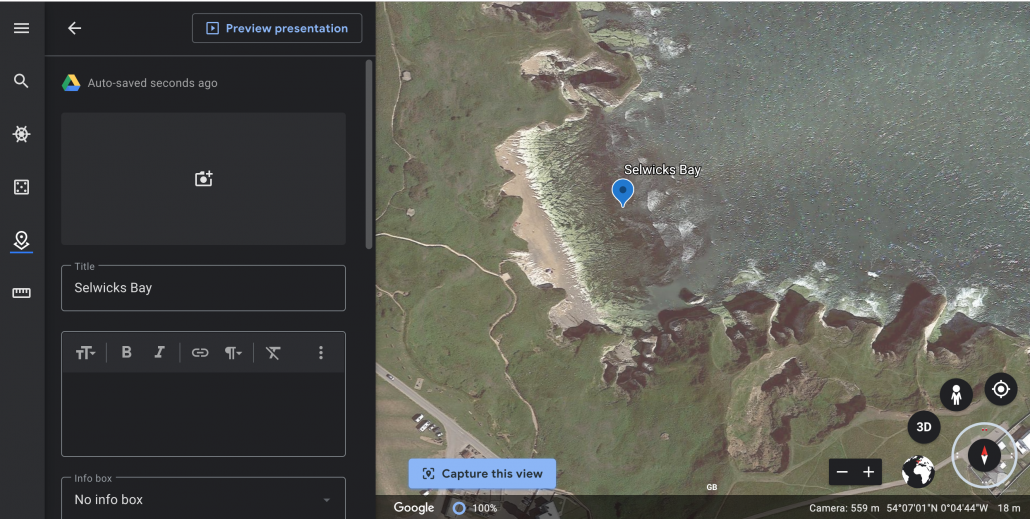
- To do this zoom in then click the compass icon. You can now change the viewing angle by using the enlarged compass icon. When you are happy with the view click Capture this view.

Google Earth – Step 12
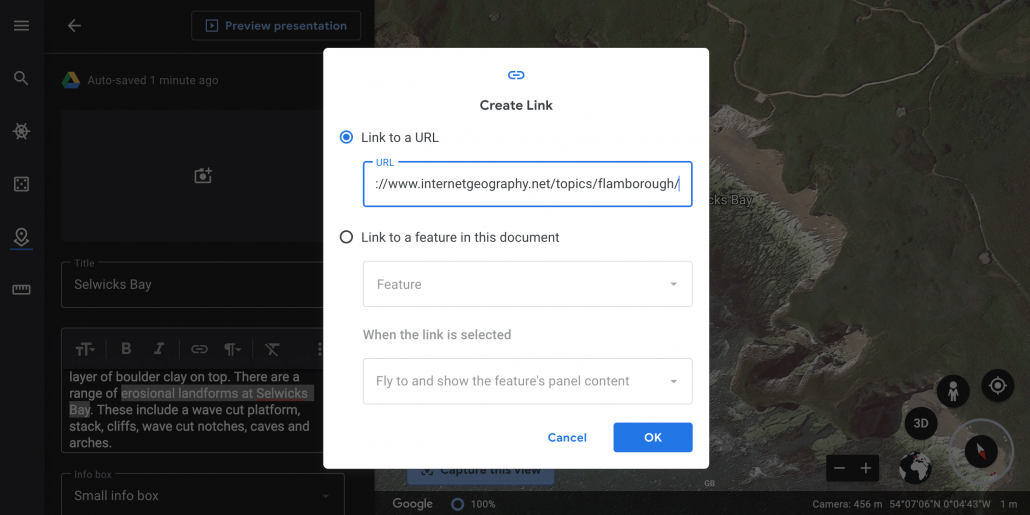
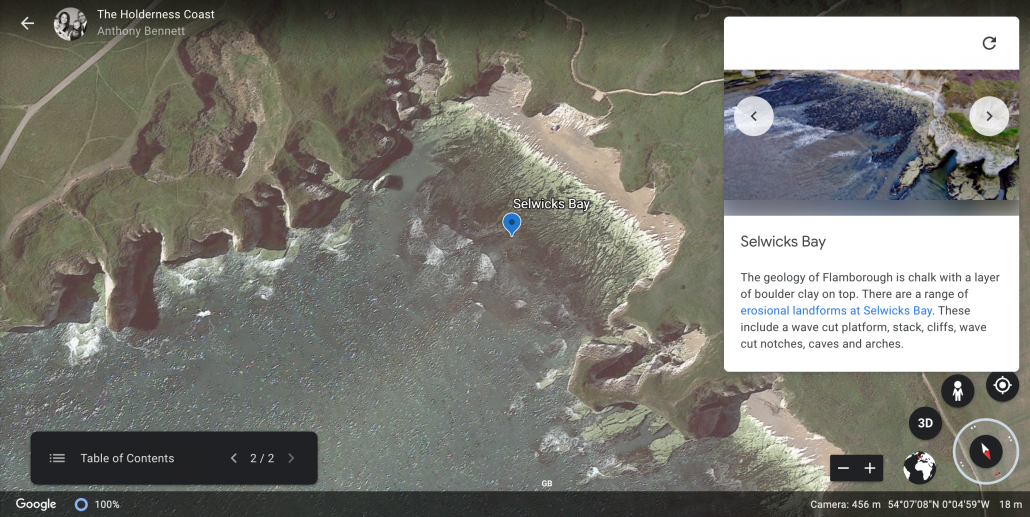
- You can add links to the text you include in the description. Highlight the text you want to become a link and click the link icon. In this case, a link has been included to more detailed information about landforms of erosion at Flamborough on Internet Geography.
Google Earth – Step 13
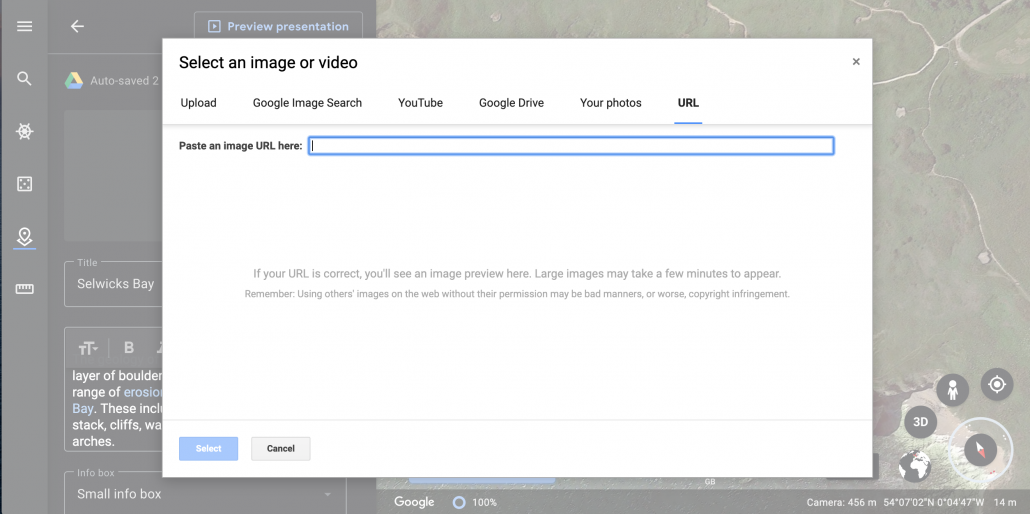
- Adding an image is easy, simply click the camera icon and choose the source of the image you want to use. Multiple image can be included.

Google Earth – Step 14
- You can review your presentation at any time by clicking Preview presentation.
Google Earth – Step 15
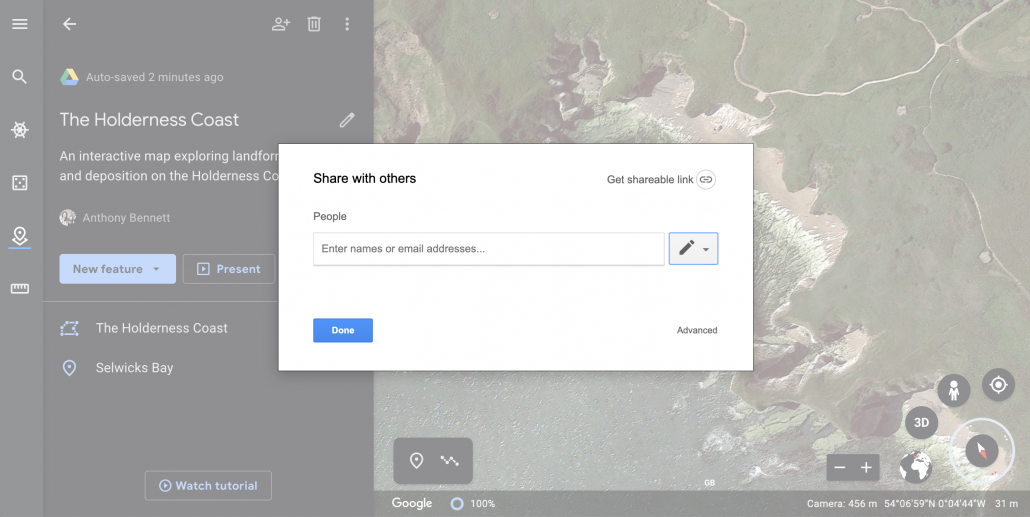
- By clicking the share button you can share your map. When you share you can choose to either allow people to view or edit. By allowing people to edit the map you can collaborate on the map with other people at the same time!
Google Earth – Step 16

It’s also possible to embed 360 images from Google Maps into your stories and maps. The video below explains how to do this!