Creating an exam paper in Microsoft Forms

Internet Geography Plus subscriptions have funded the development of these free resources. Please consider taking out a low-cost subscription to help us develop more content for Internet Geography. 

Microsoft Forms quizzes are a simple and useful way for students to complete exam questions and papers. The benefit of using Microsoft Forms quizzes for exam questions is that it’s possible to automate some of the marking and feedback. In addition to this, marking is simplified because all the answers are in the same place, saving time when reviewing answers. Finally, Microsoft Forms provides an overview of performance that is useful for evaluating a group of students’ performance and identifying areas that need revisiting.

I’ve set up an example exam paper covering natural hazards using the 2018 AQA GCSE geography paper, which you can view and copy across to your Microsoft account by clicking the links below.  The support videos below explain how the form was set up (video 1) and how Microsoft Forms can mark the paper, allocate scores, and provide personalised feedback (video 2).

If you’ve developed an exam paper in Microsoft Forms and are happy to share it with the wider community, please drop us an email.

Link 1: The exam paper how the students will see it

Link 2: Copy the exam paper over to your Microsoft Forms account (it is unlikely the images will copy across so you may need to add these yourself)

Video 1 – Setting up an exam paper in Microsoft Forms

Video 2 – Marking, allocating scores and providing feedback

Coming Soon

Video 3 – Review the performance and export to Excel

Coming soon!

Creating an exam paper in Google Forms

Internet Geography Plus subscriptions have funded the development of these free resources. Please consider taking out a low-cost subscription to help us develop more content for Internet Geography. 

Google Forms quizzes are a simple and useful way for students to complete exam questions and papers. The benefit of using Google Forms quizzes for exam questions is that it’s possible to automate some of the marking and feedback. In addition to this, marking is simplified because all the answers are in the same place, saving time when reviewing answers. Finally, Google Forms provides an overview of performance that is useful for evaluating a group of students’ performance and identifying areas that need revisiting.

I’ve set up an example exam paper covering natural hazards using the 2018 AQA GCSE geography paper, which you can view and copy across to your Google Drive by clicking the links below.  The support videos below explain how the form was set up (video 1) and how Google Forms can mark the paper, allocate scores, and provide personalised feedback (video 2). The final video illustrates how to review the cohort’s performance taking the paper and export the results into Google Sheets.

If you’ve developed an exam paper in Google Forms and are happy to share it with the wider community, please drop us an email.

Link 1: The exam paper how the students will see it

Link 2: Copy the exam paper over to your Google Drive (it is unlikely the images will copy across so you may need to add these yourself, this is explained in video 1 below).

Video 1 – Setting up an exam paper in Google Forms

Video 2 – Marking, allocating scores and providing feedback

Video 3 – Review the performance and export to Google Sheets

Coming soon!

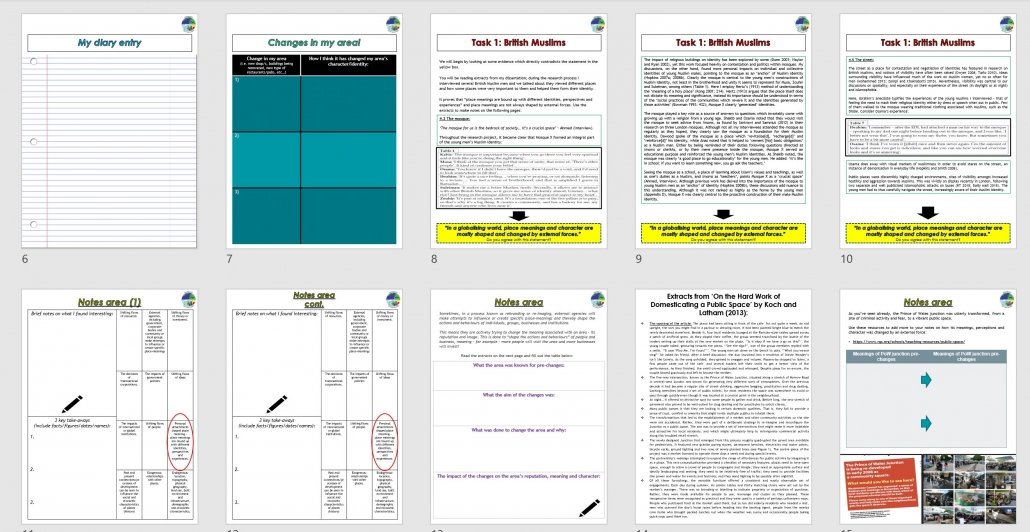
Y11 Changes Places Transition Pack

Mr Pérez (AKA @mr_perez5 on Twitter), has only gone and shared another fantastic Year 11 transition pack covering Changing Places, on top of his recent Y11 Globalisation transition pack. 

Changing Places Y11 Transition Pack

Changing Places Y11 Transition Pack

There are two resources available to download:

If you use this resource, please remove the dept. logos and email and consider donating to the Global Coronavirus Appeal here: islamic-relief.org.uk/donation/ – even £1 would be greatly appreciated!

Direct instruction tools for teaching during school closure

It’s looking increasingly likely that schools may close for a period of time due to Coronavirus. It’s clear from my Twitter feed that a number of schools are already planning for this eventuality. If you find yourself working from home and developing resources to share online with your students, there are a number of useful tools available to support you with this. In this blog post I’ll share a couple of useful tools you can use to create videos for direct instruction.

Screencasting

Screencasting involves recording what is shown on your computer screen. Most screencasting apps also allow you to record yourself narrating using a microphone (most laptops have this built-in). Once exported, the video can then be uploaded to your online portal or Youtube/Vimeo and shared with your students.

Screencastify

Screencastify is a useful app for screencasting. It allows you to create screencasts up to 5 minutes long for free! You’ll need the Google Chrome browser with the Screencastify plugin installed. Head over to https://www.screencastify.com/then click the button that says Add to Chrome. Once you launch the plugin, there is a quick set up process to go through and you will need a Google account. Once you’ve done this, you will be able to save your screencasts directly to Google Drive.

Quicktime Player

Quicktime Player is a media player that also lets you create screencasts. Open the app on your computer then go to File > New Screen recording. Then, from the options menu, you can select your audio recording option if you want to talk over your video.

Presentation Software

Presentation software such as Microsoft PowerPoint and Apple Keynote both allow you to record a narration. This is useful if you have presentations already created and you want to provide additional guidance/instruction to your students.

Microsoft PowerPoint

Microsoft has put together a useful guide for recording a slide show with narration. You can access it here. Additionally, you can insert a sound file containing your narration to each slide by going to Insert > Audio > Record Audio.

Apple Keynote

Apple Keynote allows you to record your presentation along with narration then export it to a video file. Open your Keynote then go to Play > Record Sideshow. Click the record button and talk away. When you have finished go to File > Export > Movie. Then upload your video file to your online repository.

iPad/iPhone Apps

There are a number of apps available to record yourself talking over a presentation. These include:

If you have any other suggestions please share them in the comments below!

Anthony