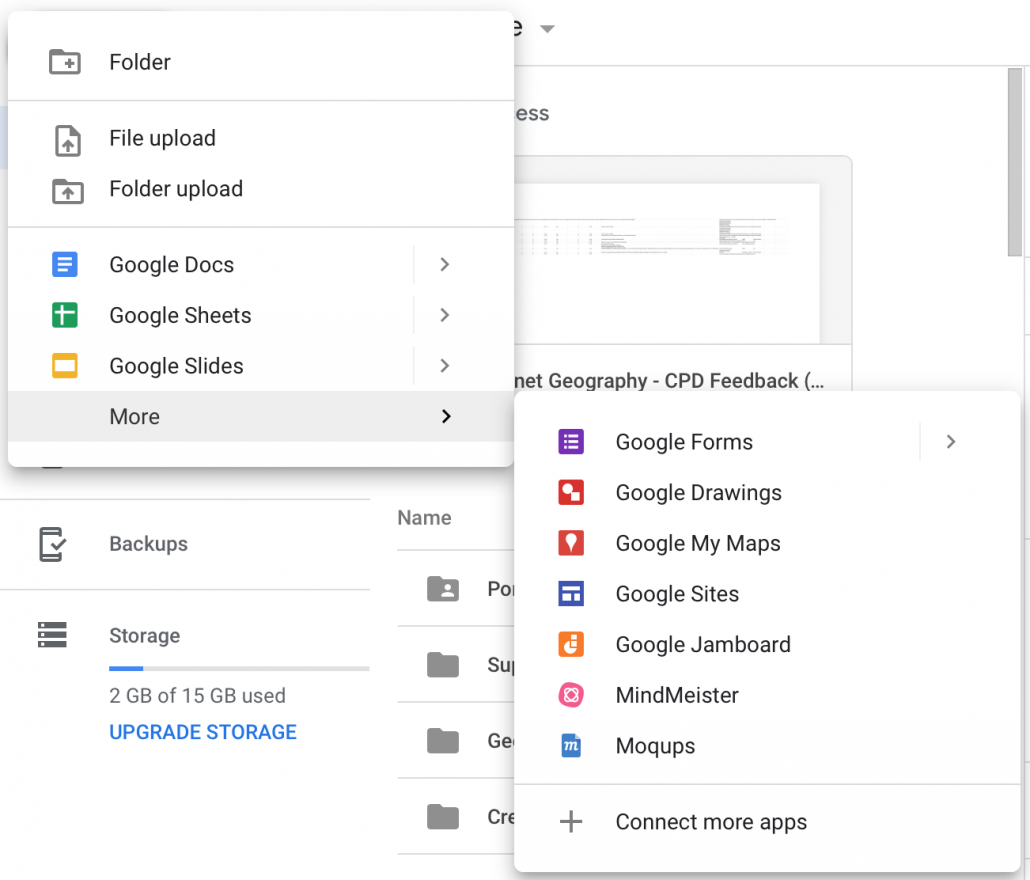
Creating an exam paper in Google Forms

Internet Geography Plus subscriptions have funded the development of these free resources. Please consider taking out a low-cost subscription to help us develop more content for Internet Geography. 

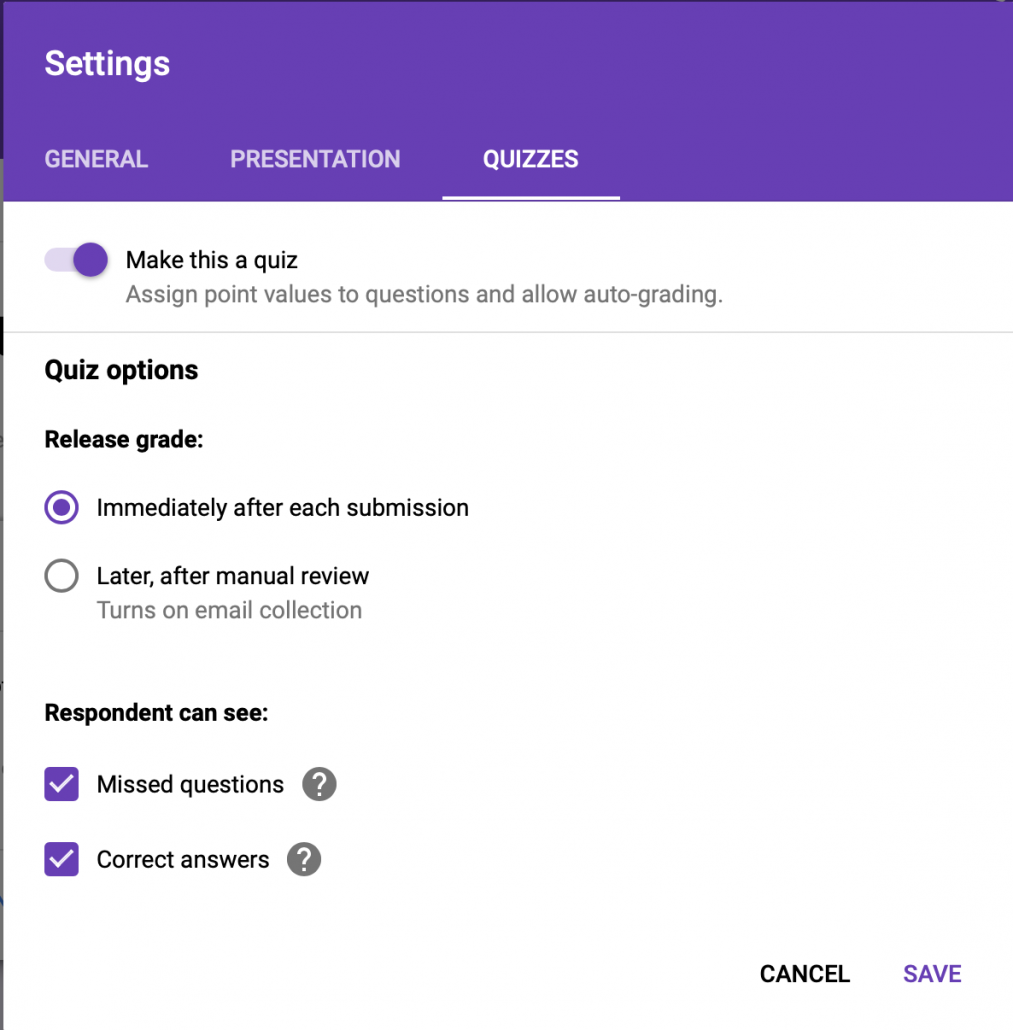
Google Forms quizzes are a simple and useful way for students to complete exam questions and papers. The benefit of using Google Forms quizzes for exam questions is that it’s possible to automate some of the marking and feedback. In addition to this, marking is simplified because all the answers are in the same place, saving time when reviewing answers. Finally, Google Forms provides an overview of performance that is useful for evaluating a group of students’ performance and identifying areas that need revisiting.

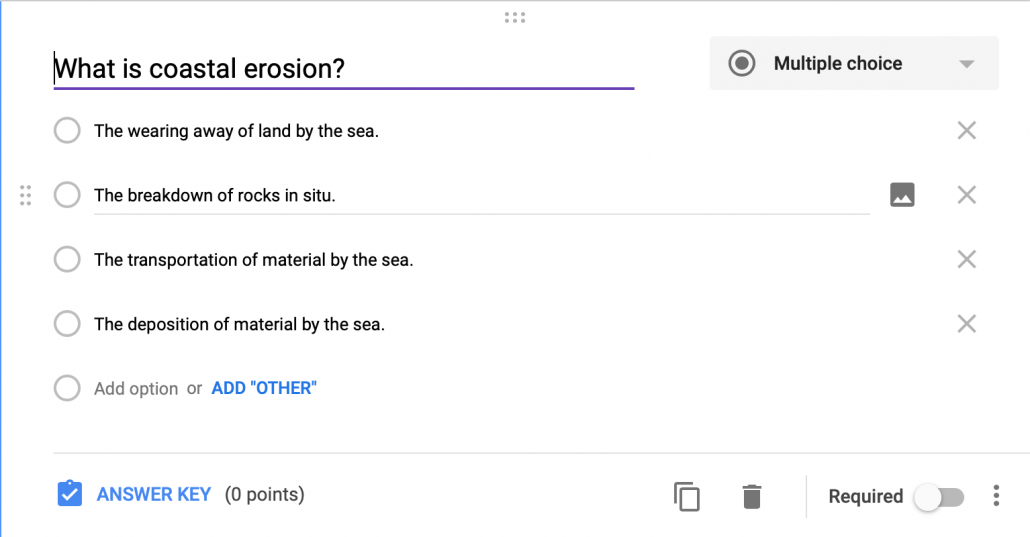
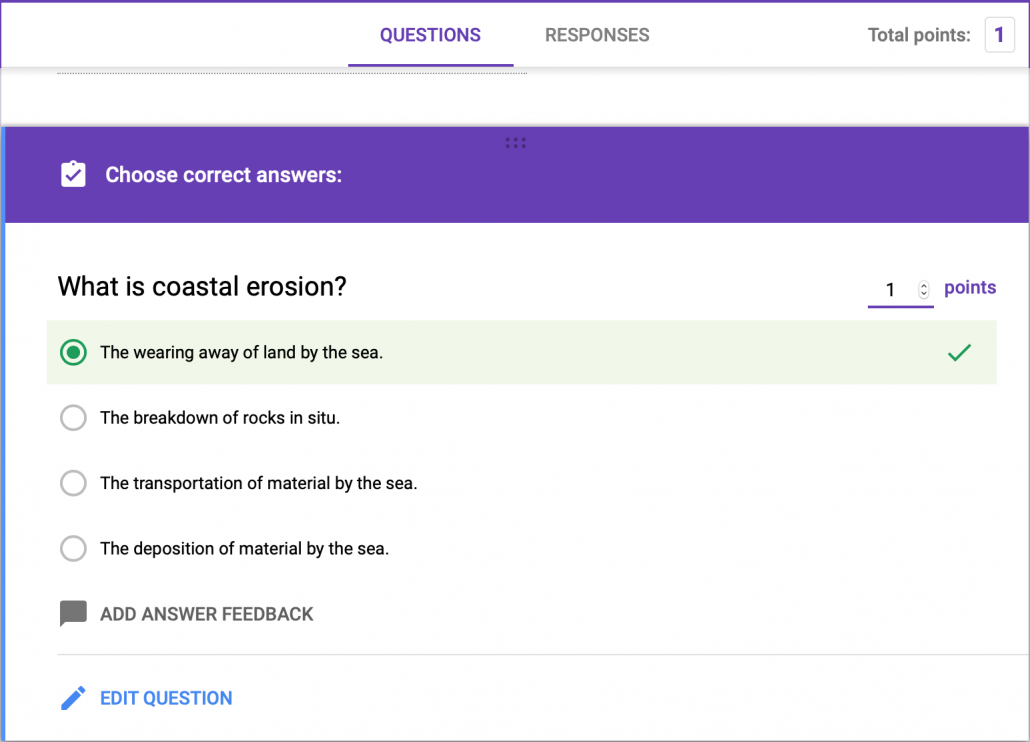
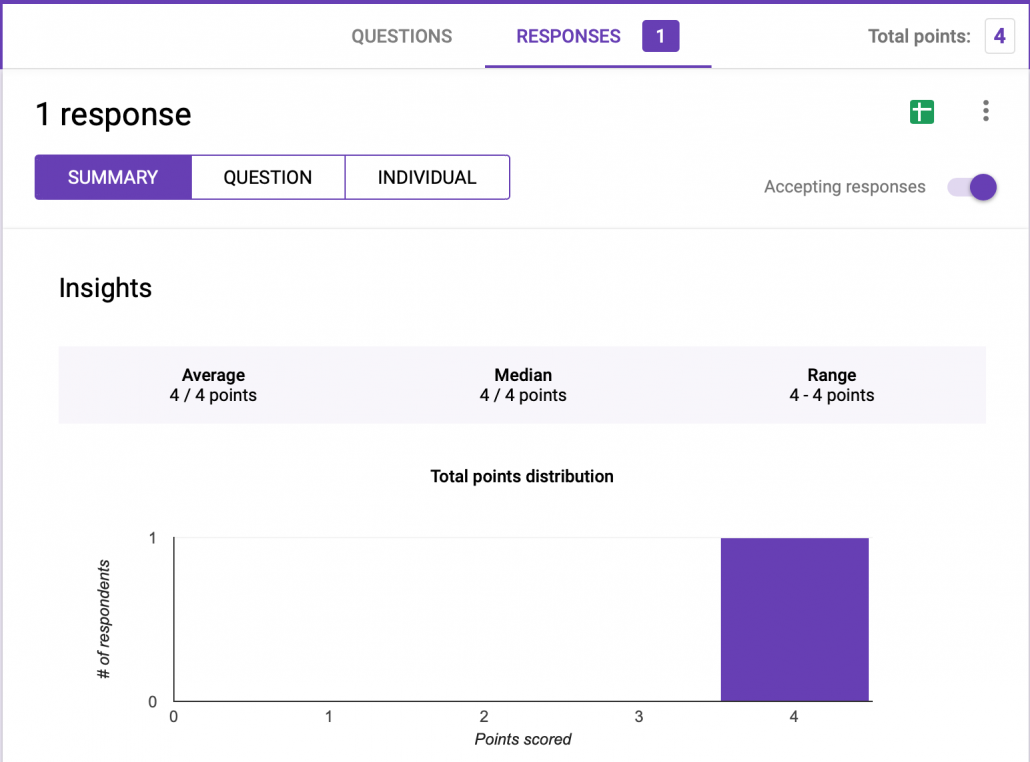
I’ve set up an example exam paper covering natural hazards using the 2018 AQA GCSE geography paper, which you can view and copy across to your Google Drive by clicking the links below.  The support videos below explain how the form was set up (video 1) and how Google Forms can mark the paper, allocate scores, and provide personalised feedback (video 2). The final video illustrates how to review the cohort’s performance taking the paper and export the results into Google Sheets.

If you’ve developed an exam paper in Google Forms and are happy to share it with the wider community, please drop us an email.

Link 1: The exam paper how the students will see it

Link 2: Copy the exam paper over to your Google Drive (it is unlikely the images will copy across so you may need to add these yourself, this is explained in video 1 below).

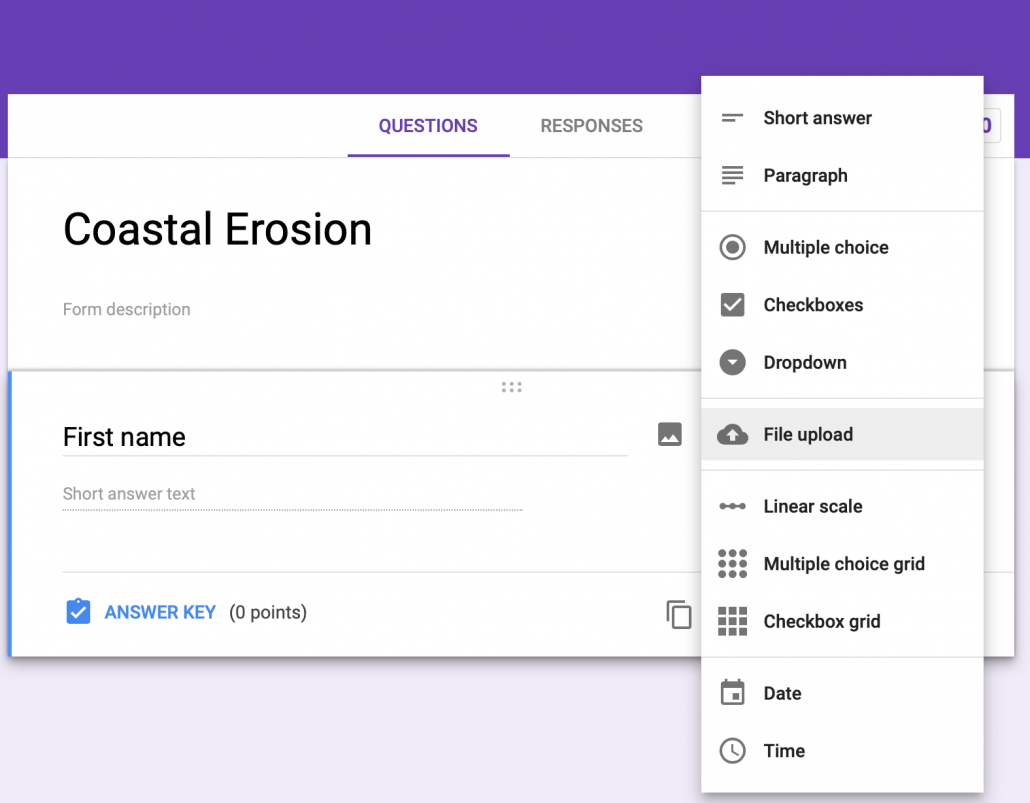
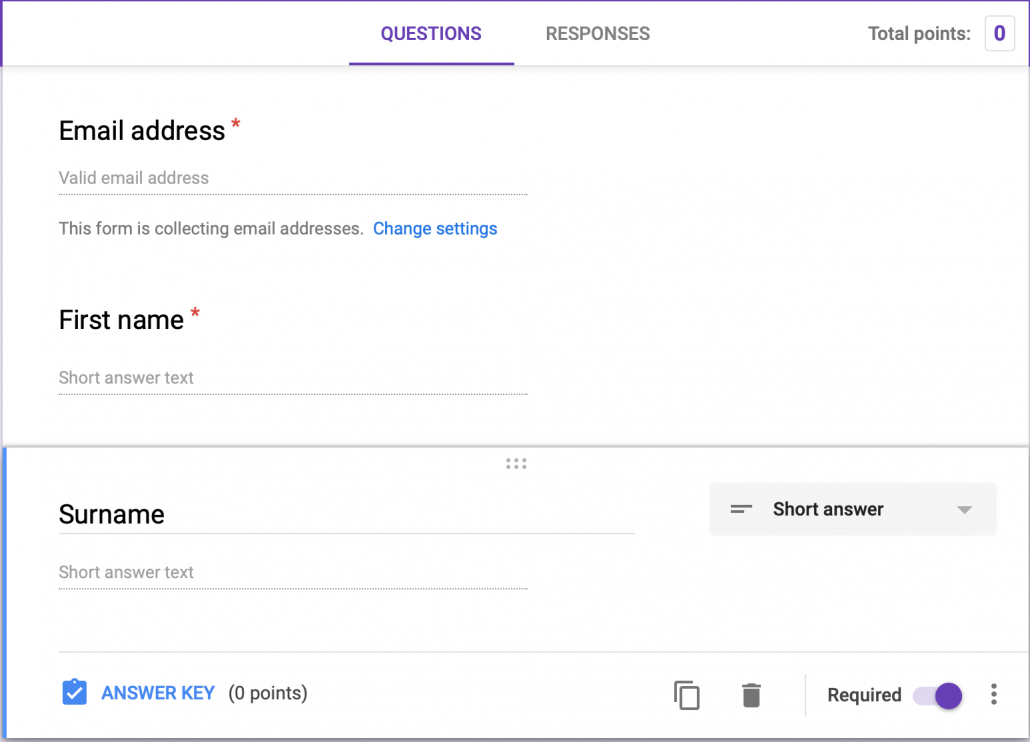
Video 1 – Setting up an exam paper in Google Forms

Video 2 – Marking, allocating scores and providing feedback

Video 3 – Review the performance and export to Google Sheets

Coming soon!

Create a self-marking quiz using Google Forms

Creating a self-marking quiz using Google Forms is easy. Not only can students complete the quiz using any device but the quiz is self-marking, saving you time. This tutorial takes you through the steps needed to create a quiz like this basic example for coastal erosion.

To get started, head over to your Google Drive and click the New button in the top left corner. Next, click More then click Google Forms.

Open Google Forms

Open Google Forms

When your form is open, click the settings icon (cog) then select the Quizzes tab. This allows you to allocate points to the quiz and allow grading should you want it. Next, click Save.

Turn on quiz

Turn on quiz

Give your quiz a title, by clicking Untitled form and adding a title.

You now need to add fields to your quiz, which can include first name, surname and email address. To begin with type first name into the first question field. Then, select short answer from the answer dropdown. Make sure you click the required slider otherwise students could submit a quiz without adding their name. You can duplicate the question to add surname and email address.

Adding name fields

Adding name fields

When you’ve added the email address field you will have the option to collect email addresses. Click the link to enable this.

Your form will look something like the example below.

Collecting details for your quiz

Collecting details for your quiz

Next, you need to add your questions. You can add multiple choice questions, multiple answer questions and short answers.

Below is an example of a multiple-choice question. Remember to select Required so that students ahve to answer the question.

Example multiple-choice question

Example multiple-choice question

Once your written your multiple-choice question, click ANSWER KEY. Next, identify the correct answer and allocate the number of points available for correctly answering it. You can choose to add answer feedback too if you wish to.

Identify the correct answer and allocate points

Identify the correct answer and allocate points

Add the remaining questions you want to ask.

When you are ready to test your quiz click the preview icon at the top of the screen. This will take you to the live quiz (you can copy the web address and share it with students – if you are not sharing this electronically you might want to shorten the web address (URL) by visiting TinyUrl.

Once you have shared the quiz you can check results by clicking the Responses tab. You can review the performance of your students by exploring the options. If you want the results in a spreadsheet format, just click the Sheets icon below Total points. This will create a spreadsheet containing all the responses.

Responses

Responses

Did you know? If you subscribe to Internet Geography Plus you’ve got access to a number of multiple-choice question booklets. You can copy and paste questions and answers from these booklets to create digital versions of the multiple-choice resources. Please note, if you use our questions please don’t share the quizzes with people or students outside of your classes if you have an individual subscription or your school if you have a department subscription.

Have you seen our quizzes on Internet Geography? Save time creating your own by using ours!

Next Steps
Once you’ve set up your quiz installing a simple add-on lets you analyse the data you have collected. Take a look at this post to find out how: Analysing data from a self-marking quiz using Google Forms with Flubaroo.

Map your photos using Google Maps

Using Google Images and Google Maps you can easily create a map using an album of geotagged photos. Geotagged photos are those that include data on the location they were taken. Most modern mobile phones have this feature as do some digital cameras. If you are not sure a quick search on the Internet will tell you if this option is available and how to enable it.

Below is a map showing the location of a number of images taken in and around Hornsea on the Holderness Coast using an iPhone and a drone.

Looks complicated? Don’t worry, it’s not! Just follow the steps below.

To begin with, you will need to upload your geotagged photos to a new album in Google Photos. To do this login to your Google account and go to https://photos.google.com. Next create a new album by clicking +Create in the top right corner, then select Album.

Give the folder a title then upload the images you want to map.

Next, go to https://www.google.com/maps/d/ and select +Create New Map (top left corner). Your new map will open and be called Untitled map. Give your image a suitable title by clicking untitled map in the top left window.

Rename your map

Rename your map.

Click Save.

Next click Import (under the first layer which is called Untitled layer).

Click import

Click Import

Click the Photo albums tab. Next, locate the album where your photos are stored. Select all the images you want to import onto the map.

Select images you want to import

Select images you want to import

Next, click Select. The photos will then be copied onto your map.

This will create at least one layer containing your images and an icon of each image will be displayed on the map.

Imported images and new layers

Imported images and new layers

You will notice that each photograph has been given a title based on the location it was taken. You should go through these and rename them as appropriate. Once you’ve finished you can share your map with others by clicking Share > Change > On. You can then share the URL. You can also embed the map on a website by clicking the three dots next to the map title. Then select Embed on My Site.

VR in Geography using Google Poly

How can coastal fieldwork data be presented on Google My Maps?

How can river data be presented on Google My Maps?

How do I share Google My Maps?

Using the measurement tool in Google My Maps

Create a landuse map in Google My Maps

Using Google My Maps in Geography – part 2