Measuring Air Pollution – A Simple Fieldwork Experiment
In this guest blog post Dr Paul Ganderton provides guidance on completing fieldwork involving measuring air pollution. You can follow Paul on Twitter via @ecogeog.
Fieldwork should be frequent and compulsory! There, said it! Against the mounting paperwork and issues in my system, I stand for practical work for all students as often as possible. However, we do need to be aware of the real constraints in this endeavour. As much as we’d like to spend every lesson out in the field (and imagine how much they’d learn!), we need to allow other subjects their time. Cash is a real issue as well. I’m guessing no-one’s funding has expanded to keep pace with the cost of fieldwork equipment. This is why I’ve developed a series of field experiments that are simple, cheap and effective.
Let’s get started. These are the key factors to I bear in mind at the planning stage:
- Validity – will the fieldwork give me decent data that can be seen (albeit in more sophisticated forms) in real geographical science?;
- Complexity – if the work is done remotely by students, can the instructions be unambiguous so the whole class can be confident everyone’s data are comparable?;
- Timescale – can the work be set up reasonably quickly and get decent results so students keep their enthusiasm? I like the idea of thinking fast and slow and cooking fast and slow, so why not Geography fast and slow! This one’s fast; a week’s trip gives me slow! (Both are valid but I love the quick experiment. It motivates students, gets them to realize that Geography is mostly a practical science);
- Cost – yes, I’d love the latest monitoring equipment (please) but in the real world, you don’t get the luxury and it’s crucial all students take part.
Putting this piece of fieldwork in context of these three ideas:
- This follows accurately the methods used in air pollution research. Today, remote sensors are used but the basic idea of gathering point data is very much alive;
- This experiment has been road tested loads of times. I’ve never had a student fail. I even demonstrate in class first and get them to trial setting up a unit;
- I plan this to last for about 7 days. So, students go home on holiday/half-term, set this up, forget it and bring the materials in at the start of the new term. Total student time – about 1 hour tops. About 3 lessons in class – 1 before to outline the experiment; 2 for analysis and discussion afterwards;
- Cost – borrowing from your science department and a couple of household items means your main cost is just 1 stake per student (woodwork department scrap or hardware store). Depending on your jurisdiction, about 1GBP/$2 all up.
Moving on to the fieldwork stuff:
- Equipment – for each student: 1 stake 1.5m high, ideally 20x20mm square; 4 microscope slides; enough sticky tape to bind top and bottom of the slide to the post; petroleum jelly to smear on each slide. For the analysis, an identification guide and microscope.
- Method:
- Take the stake and tape one slide to one of the faces. Make sure that only about 1cm is covered top and bottom of the slide so there’s enough space for the jelly;
- Repeat for the other 3 faces. It’s important that the slides are all at the top of the stake. I’ve had students tape all four on at once. It’s not hard. If slides are glass, a quick warning about wearing gloves or taking care might be useful. Label each slide as N, S, E or W;
- On the exposed glass (not tape), smear petroleum jelly on the slide. How much? More than a smear, less than a big splodge – I suppose 0.25mm – it needs to be able to withstand a week’s weather;
- Find a spot to locate the stake. The obvious choice is in the garden, away from objects that impede air flow. Some students might live in apartments so they may have only a balcony or even just a window. No problems, just adjust as needed and use this as a case study in discussing sampling arrangements! Make sure the stake is oriented so the North-facing slide faces North etc.
- Leave alone for about 7 days if possible;
- At the end, take the slides carefully off the stake avoiding smudging the jelly. Transport the slides to school so that they are not smeared. I find taping them to a piece of cardboard is good. A lunch box where the slides are stuck to the bottom is excellent. Discuss with students how to transport their data without ruining it!
- Analysis:
- If the work has gone well, you should have 4 slides with a variety of particles embedded in them. From this point, there are two main questions – what are the particles and how many are there?;
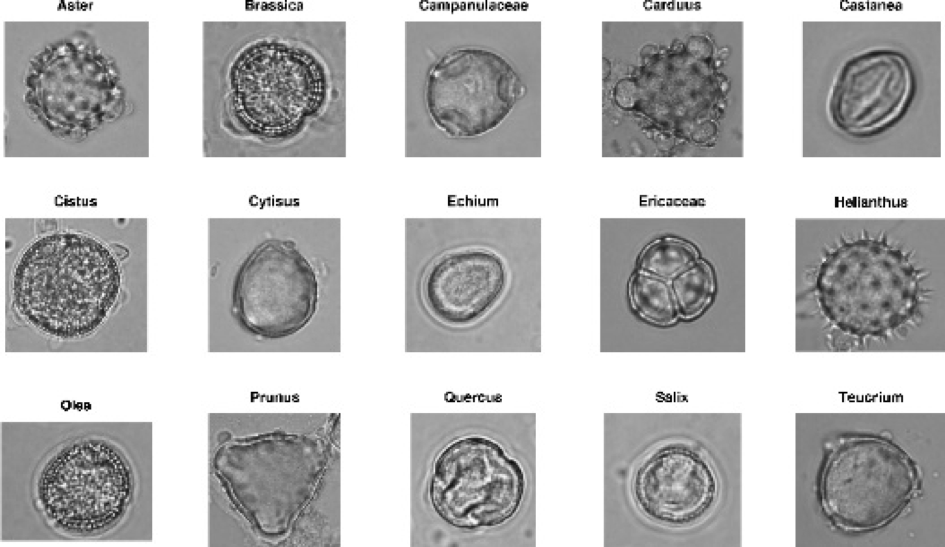
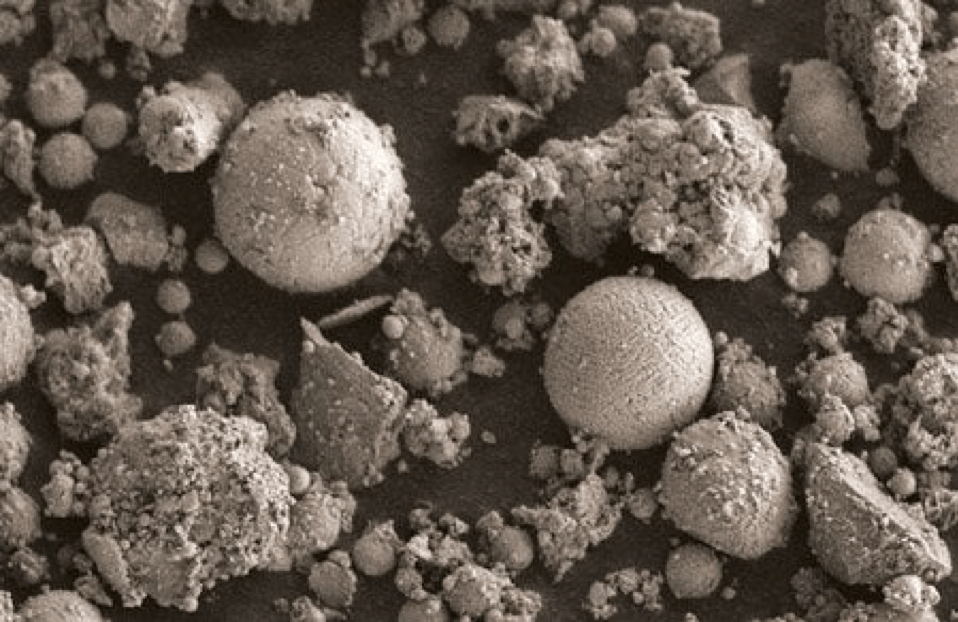
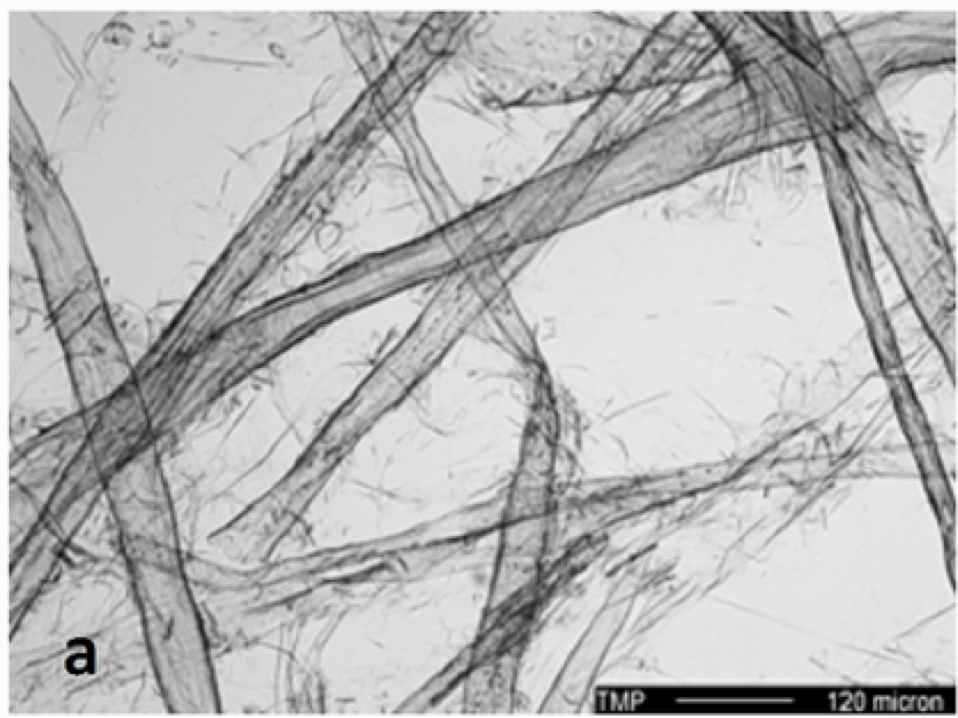
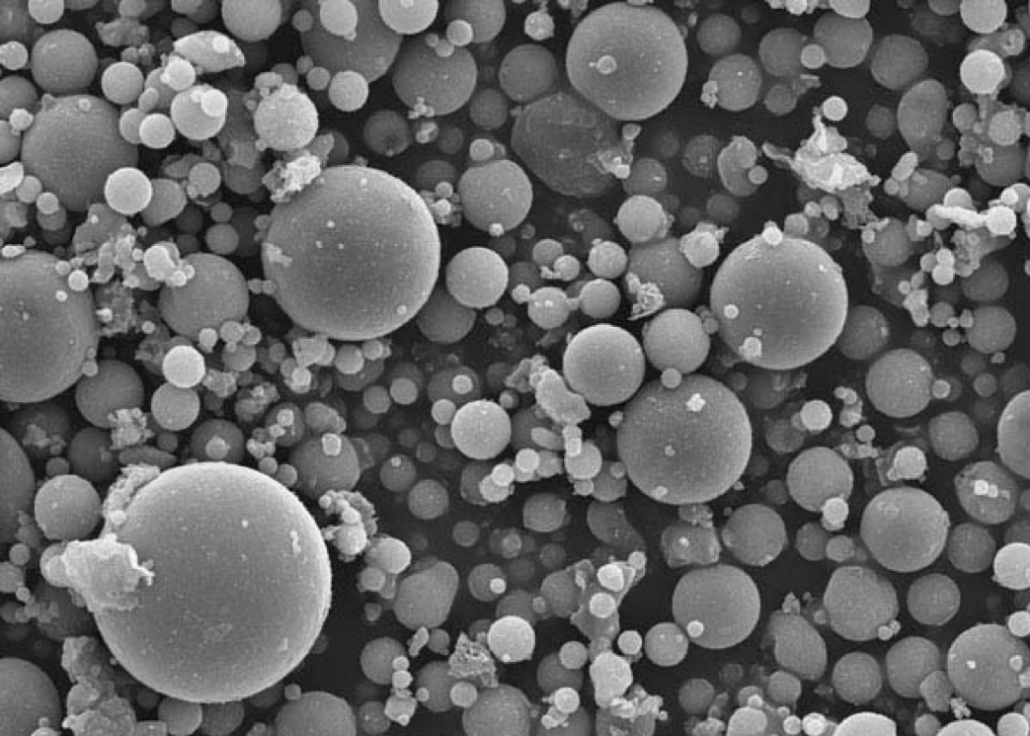
- For the former, there are usually only 5 common particles: pollen, dust, fibres, fly ash, diesel carbon and grit. Give students an identification guide and a microscope and get them to see how many different categories of particle they can recognize(1). Put this in a table/spreadsheet;
- For the latter, there needs to be some common system. It’s possible to count but would take far too long and be likely erroneous (bored students!). A simpler scale is the Likert-type Scale: Absent, Rare, Uncommon, Common, Abundant. Add these labels to the table/spreadsheet;
- Take each slide in turn. Analyse the types of particles and their abundance. Put the data in the table and repeat until slides have been recorded;
- Record the location of each stake on a map (paper or electronic).
- Discussion:
At this stage, you should have 4 readings for each stake and a map detailing locations. This is the pattern – the whatand where. Now we get students to find out why. At this point, you can go in any number of directions which is what makes this such a good piece of fieldwork! Here are just a few of the questions I’ve posed over the years (with suggestions for answers/discussions):
- Which direction has the most particles? (prevailing winds?)
- Which particles are most common? (pollen, suggesting countryside or diesel carbon, suggesting roads?)
- Are particles equally common on all sides or just some? (group of trees on one side?)
- Do particle counts vary in one direction (distance from roads or quarries/forests etc.?)
- Which of these particles causes most impact to (a) the environment (e.g. dust covering plants affecting photosynthesis); and (b) people (poor air quality links to asthma etc.). Get students to research this as a part of their study.
- Taking it further:
The advantage of this work is that you can take it in a number of equally valid directions:
- Critique of method – is it realistic and likely to give decent results?;
- What factors might make the results less valid?;
- What is the sampling method and how might it be improved?;
- What pollutant factors are most important in our towns and cities? Is this research equally useful in other towns/nations? Why/why not?;
- What can be done to reduce air pollution in our town?
- What are the 3 key takeaway points that you have learned? Why did you choose those 3?
- Carry out simple statistical/graphical techniques to allow comparison between sites. What pattern is shown and how can we account for it?
- Air pollution and public health is a huge study area. Students can study the impact of exhaust fumes on health and mental development, explore the issues surrounding Lead in petrol, look at exposure to pollutants on child development etc.
There we have it. A simple yet effective fieldwork item that could be used for different years/topics. It yields itself to so much analysis and interpretation. It develops citizenship and personal health ideas through appreciating the pollution level around us. Given that a bit of promotion never hurt any subject, it can be said that this approach to a topic allows you to develop an appreciation of Geography and its potential in the real world.
Dr Paul Ganderton
@ecogeog
Footnotes
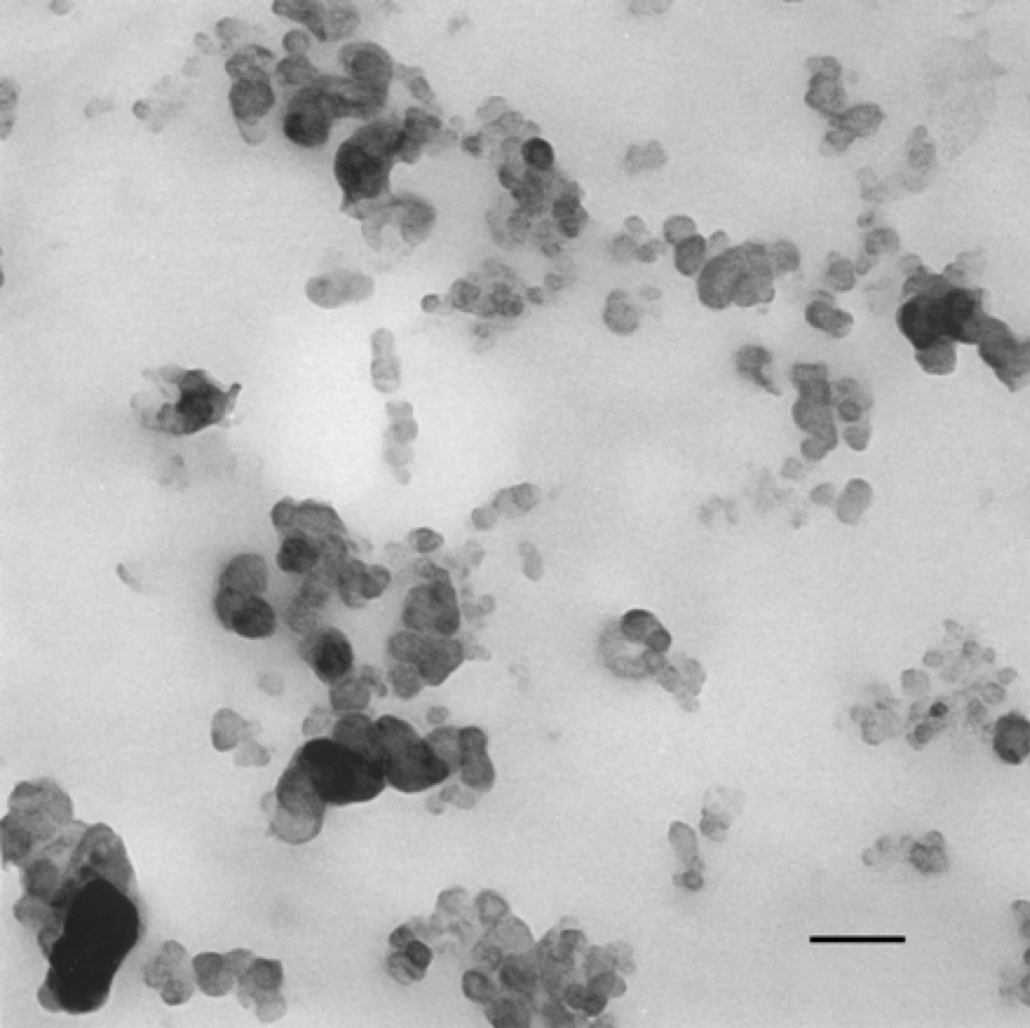
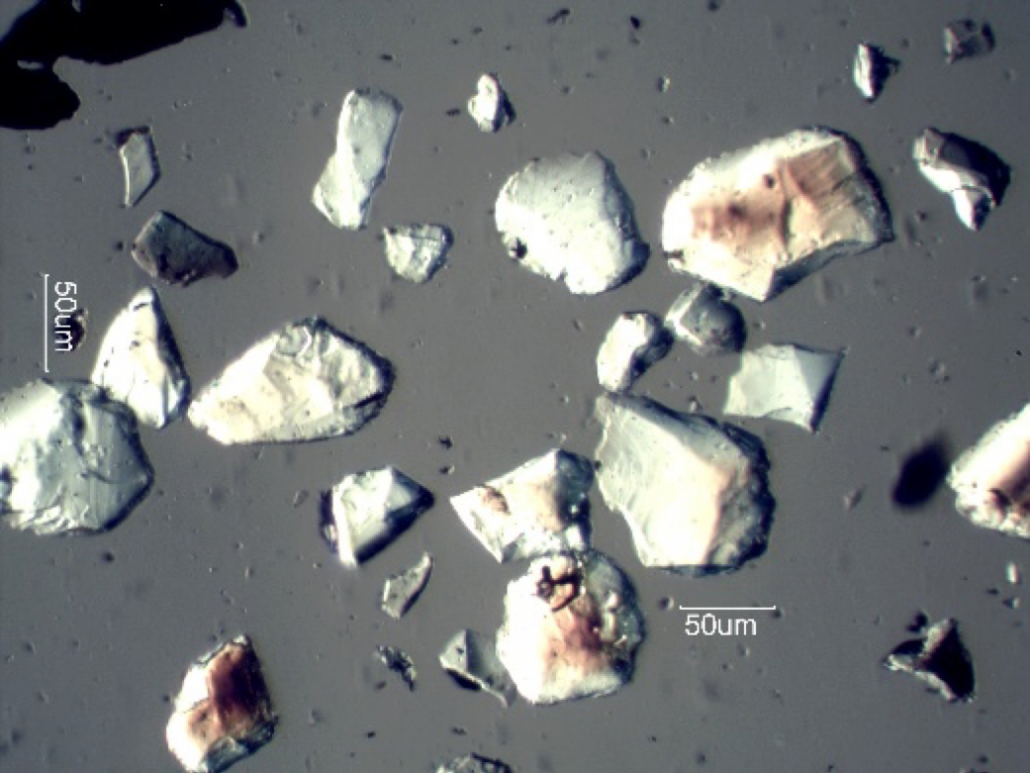
- Particle Identification. It’s easy to make a chart from Google images as was done for this blogpost. Here are some images to help you differentiate:
Pollen:
Dust:
Fibres:
Fly ash:
Diesel/engine particles:
Grit:






Leave a Reply
Want to join the discussion?Feel free to contribute!